A dental crown is a common recommendation, yet the weeks before treatment often feel unclear. You may be weighing discomfort, appointment time, and cost, or wondering how much depends on your choices versus your dentist’s plan. Preparation for a crown is a short sequence, not one event: the consultation and exam, a review of your health and medications, impressions or digital scans, decisions about material and fit, and a clear plan for comfort and aftercare. Each step shapes the next, and understanding them in advance reduces surprises. You will learn what happens at the first visit, why your medical history matters, how to prepare your mouth for accurate impressions, how crown materials are selected with your dentist, what to expect during and after the appointment, and how to protect the crown long term. With the right information, dental crowns preparation becomes a manageable set of decisions rather than a source of anxiety.
Understanding Why a Crown Is Recommended
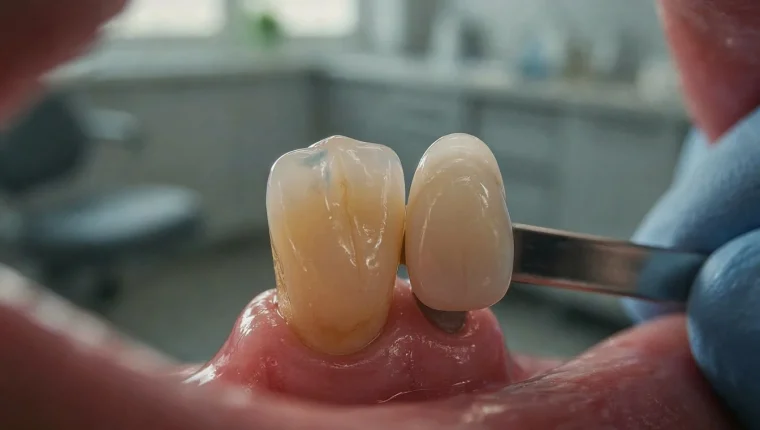
A crown is usually recommended when a tooth has lost too much structure for a filling to hold reliably. That threshold matters, because the decision is rarely about the size of the cavity alone. Dentists weigh how much healthy enamel remains, whether the tooth bears heavy chewing forces, and whether cracks extend below the gumline. Common triggers include extensive decay, a fractured or weakened tooth, a tooth that has just undergone root canal treatment, and occasionally a cosmetic change in shape or color.
Once a significant portion of the tooth is compromised, a filling can flex, leak, or fracture under normal biting pressure. A crown covers the tooth and distributes force across its full surface, protecting what remains and restoring comfortable function. Cracks are a particular concern, since they can spread and eventually require extraction.
Alternatives do exist. A large filling, an inlay or onlay, or in some cases extraction and replacement may be reasonable depending on the tooth and your overall dental health. Those trade-offs are individual, so it helps to ask your dentist directly which specific problem the crown is meant to solve and what would happen without it.
Initial Consultation and Dental Examination Steps
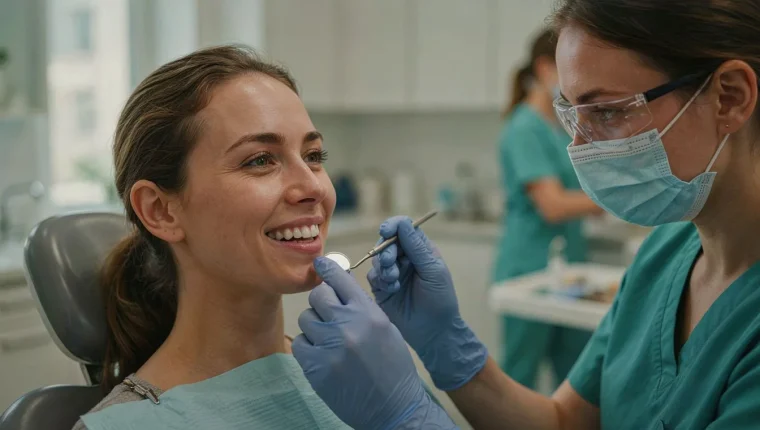
The first visit is mostly about gathering information, and it usually moves through a predictable sequence. Your dentist will begin with a visual exam of the problem tooth and the surrounding gum tissue, checking for cracks, wear, and how much healthy structure remains. Dental X-rays are typically taken at this stage to show the roots, bone level, and any decay or infection hidden below the surface. Some offices also take photographs or a quick intraoral scan, which creates a digital record you can compare against later.
From there, the conversation turns to your goals. Your dentist will explain what the crown is meant to accomplish, how many appointments the process will take, and roughly how long you will wait between the preparation visit and the final fitting. This is the moment to ask questions while the details are still fresh: Is a crown the only option, or would a filling or onlay work? What happens if you delay? What will your insurance cover, and what will you owe out of pocket?
Bring a few practical items to make this visit run smoothly. Your insurance card and photo ID speed up check-in, and a written list of your current medications and dosages saves time later. If you have records from a previous dentist, including recent X-rays, bring those too, since they can reduce repeat imaging. Many patients find it helpful to write their questions down beforehand, because it is easy to forget them once you are in the chair.
Medical History and Medication Review Before Treatment

Before any tooth is prepared, your dentist needs a complete picture of your general health. Certain conditions can change how treatment is planned: heart problems, diabetes, and bleeding disorders may influence bleeding, healing, or how anesthesia is managed. For that reason, a careful medication review is a routine and important step, not a formality.
Bring an up-to-date list of everything you take, including prescriptions, over-the-counter drugs, and supplements. Blood thinners, immunosuppressants, and bisphosphonates are especially important to report because they can affect clotting, immune response, or bone healing. Your dentist may also ask about allergies and any past reactions to dental materials or anesthetics, so mention these even if they seem minor.
One common question is whether to take your normal medications on appointment day. In most cases you should continue them as usual, but follow your dentist’s specific guidance, particularly if a change has been discussed with your physician. Sharing this information openly helps your care team reduce risks and tailor the visit to your needs.
Preparing Your Mouth and Teeth for Impressions
Accurate impressions start before the tray or scanner ever enters your mouth. If your dentist has given you specific pre-appointment instructions, such as rinsing with a particular solution or brushing at a set time, follow them closely. These steps remove debris and stabilize the oral environment so the material or scanner can capture a clean, precise record of your teeth and gumline.
During the appointment itself, knowing what to expect helps you stay relaxed. Traditional impression material often has a mild, sometimes minty taste, and it sets within a few minutes. The tray can feel bulky, and a brief gag reflex is common; slow, steady breathing through your nose usually settles it quickly. Digital scanning avoids the paste entirely and typically takes only a few minutes per arch, though the scanner may feel cool against your teeth.
Unless your dentist advises otherwise, arrive with a clean mouth and skip lotions or heavy lip products that could interfere with tray placement or material setting. Most importantly, speak up before the tray or scanner is positioned if you have sensitive teeth, a strong gag reflex, or jaw pain. Mentioning these issues early lets your clinician adjust technique, timing, or materials so the impression succeeds comfortably on the first attempt.
Planning the Procedure and Choosing Crown Materials

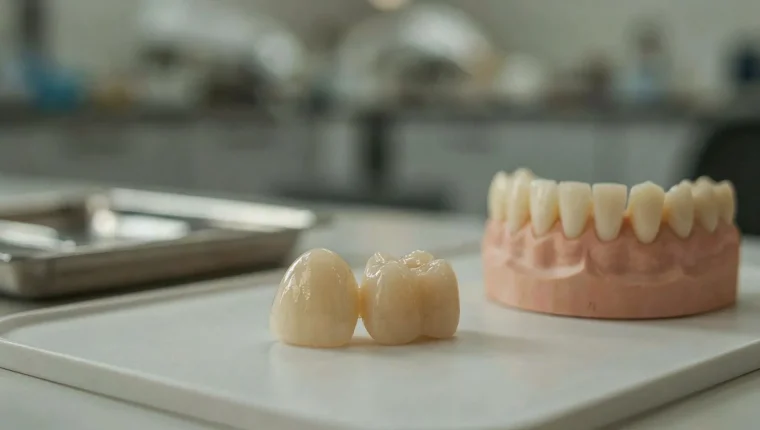
Once your mouth is ready for impressions, the next step is turning those records into a plan. Your dentist will review the scans or molds alongside your X-rays and bite to decide how the crown should be shaped, how much tooth structure needs to be reduced, and which material fits your situation. This is a conversation, not a single decision made for you, so it helps to arrive with your own priorities in mind.
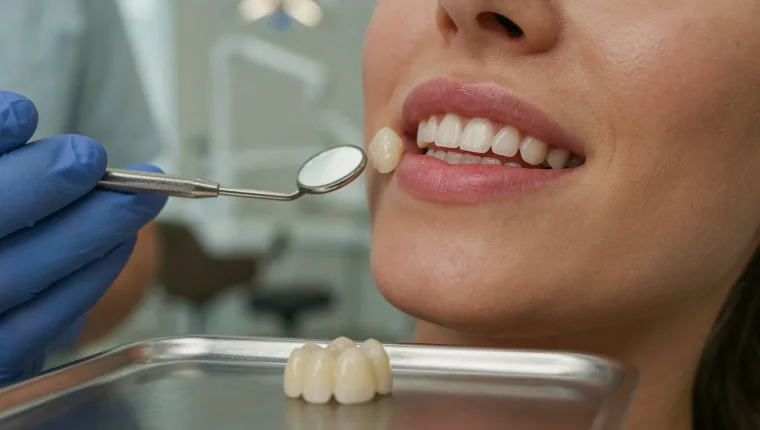
Material choice usually comes down to a handful of practical factors: where the tooth sits in your mouth, the forces your bite places on it, how visible it is when you smile, the cost, and how long you want it to last. Front teeth often call for porcelain or ceramic because they blend with natural enamel, while back teeth may do better with zirconia, metal, or porcelain-fused-to-metal, which stand up to heavier chewing. Each option carries trade-offs in appearance, durability, and how much it wears the opposing teeth.
Your dentist will also map out the timeline. Most crowns take two visits: one to prepare the tooth and place a temporary crown, and a second to fit the permanent one after the dental lab finishes it. Ask how long the temporary is expected to stay, what to avoid eating on it, and whether your insurance covers the material you prefer. Questions about longevity, wear on neighboring teeth, and out-of-pocket costs are worth raising now, before the work begins.
Managing Pain, Anxiety, and Post-Appointment Expectations
Dental anxiety is common, and the best time to address it is before the appointment, not in the chair. Tell your dentist plainly what worries you — needles, the sound of the drill, gagging, or simply losing control of the situation. From there you can agree on practical options: a topical numbing gel before the injection, a short break signal you can raise at any point, or sedation for longer or more complex visits. Local anesthesia itself usually feels like a brief sting or pressure that fades within seconds, and the numbness typically wears off in two to four hours.
Afterward, some sensitivity around the prepared tooth is normal, especially while the temporary crown is in place. Mild tenderness when biting, a slightly rough edge, or sensitivity to cold usually settles within a few days. A temporary crown can also loosen or come off, which is common and not an emergency — keep it and call your dentist for re-cementation.
Call the office promptly if you have persistent pain that worsens instead of easing, swelling, a bad taste, a fever, or a crown that feels high when you bite. Those signs point to something that needs attention rather than something to wait out.
Aftercare Planning and Long-Term Crown Maintenance
Caring for a crown starts the moment you leave the chair. Brush twice daily with a soft-bristled brush and a fluoride toothpaste, angling the bristles where the crown meets the gum line. Floss daily, but slide the floss out sideways rather than snapping it upward, since that motion can catch and loosen a crown margin. For wider gaps, interdental brushes or a water flosser reach areas a standard brush misses.
Protect the restoration from forces it was not designed to absorb. Avoid chewing ice, hard candies, unpopped popcorn kernels, and pens. If you grind or clench at night, ask your dentist about a night guard, because repeated clenching is one of the most common reasons crowns chip, crack, or come loose.
Keep routine checkups on schedule so your dentist can examine the margins and confirm the crown still seals properly. Report any looseness, sharp pain when biting, or a change in how your bite feels without waiting for your next visit. These signs can point to decay beneath the crown or a failing cement seal, and early treatment is simpler than a replacement.
With good hygiene and regular care, most crowns last many years, though the lifespan varies by material and your bite habits. A crown that has chipped, shifted, or caused gum irritation near its edge is usually a sign it needs repair or replacement.
FAQs
What should I avoid eating or drinking before my dental crowns preparation appointment?
Skip heavy meals, alcohol, and anything with strong staining power like coffee, red wine, or berries right before your crown prep, since a full stomach can make you uncomfortable in the chair and dark pigments can complicate shade matching. If you're getting local anesthesia, eat only a light snack beforehand to avoid nausea, and steer clear of very hot or very cold drinks that can make sensitive teeth more reactive. Stick to water and a bland, easy bite if you need something, and take any prescribed premedication exactly as your dentist directed.
How long does a typical dental crowns preparation visit take from start to finish?
A typical crown preparation visit usually takes about 60 to 90 minutes from start to finish, though it can run longer if you need multiple crowns or the tooth requires extra work like a core buildup. That time covers numbing, shaping the tooth, taking impressions or digital scans, and fitting a temporary crown. If your dentist uses same-day CAD/CAM technology, you might be in the chair closer to two hours so the permanent crown can be milled and placed in one appointment.
Can I take my normal medications on the day of dental crowns preparation?
Yes, in most cases you should take your regular medications as usual on the day of your crown preparation, especially medications for blood pressure, heart conditions, thyroid function, or seizures, since skipping them can cause more risk than the procedure itself. The main exceptions involve blood thinners and anticoagulants like warfarin, clopidogrel, or newer agents such as apixaban and rivaroxaban, which your dentist may ask you to pause or adjust based on your bleeding risk and the invasiveness of the prep. Always confirm with your prescribing physician and your dentist before making any changes, and never stop a medication on your own.