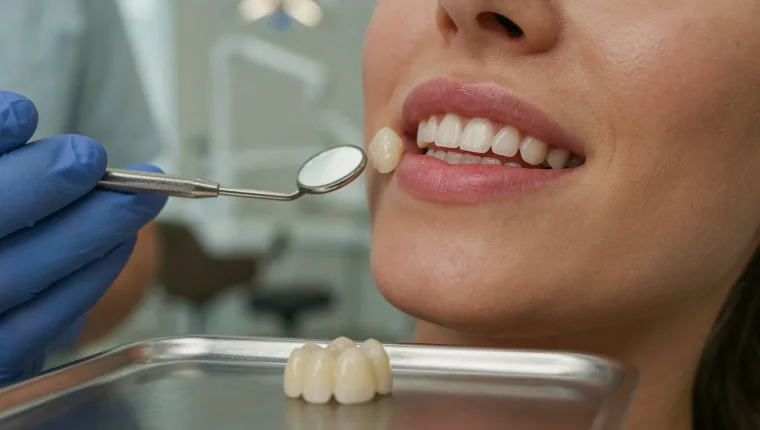
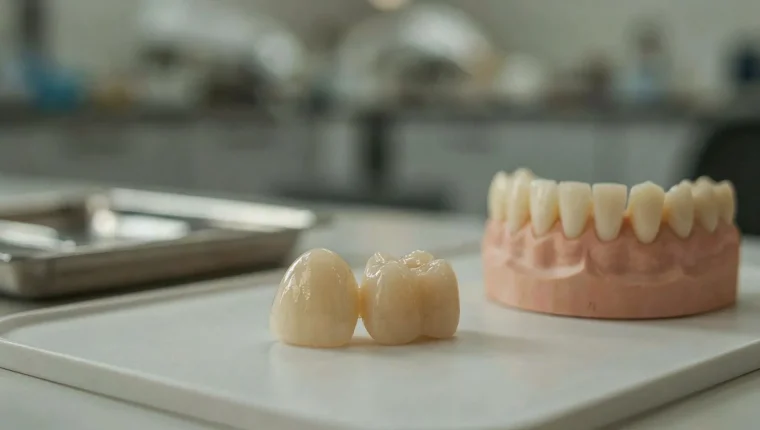
Two people can get a crown on the same tooth and end up with completely different results. One looks like nothing ever happened; the other looks obvious in every photo. The gap between those outcomes rarely comes down to luck. It comes down to a handful of factors you can actually influence: the condition of the tooth underneath, the health of the gum tissue framing it, the shade and translucency your dentist chooses, and how the bite and contact points are shaped. If you are weighing a crown on a damaged or discolored tooth, the honest question is not whether it will look better, but whether it will look natural and predictable. That depends on how well the crown matches the teeth beside it and how cleanly it blends at the gumline. The visible change in a dental crowns before and after comparison is the sum of those decisions, not a single moment in the chair.
What Dental Crowns Before and After Results Really Look Like
Search for images of crowns and you will mostly find polished, high-contrast transformations: a dark, broken tooth on the left, a flawless white one on the right. That contrast is real, but it is also staged. In everyday practice, a well-made crown rarely announces itself. It restores a tooth that had become a problem, and the honest measure of success is that nobody notices the work at all.
What does a realistic change look like? Most patients see a tooth that is intact again, shaped to match its neighbors, and close in shade to the teeth beside it. If the tooth was heavily discolored before treatment, the shift can be striking. If it was simply cracked or worn, the change is quieter: the tooth looks whole rather than transformed. Both outcomes are normal, and neither one is a sign that something went wrong.
This is why “good” in crown work is defined by blending, not by brightness. A crown that matches the neighboring teeth in shape, size, and surface texture reads as natural; one that is whiter, blockier, or glossier than the teeth around it draws the eye immediately. The final appearance depends less on the crown alone than on how it sits within the smile it joins, which is where color, gum condition, and bite all come into play.
Why Tooth Color and Translucency Change the Final Outcome

If you have ever held a shade guide against your teeth, you already know the problem: none of the tabs look like a real tooth. That is because a natural tooth is not one color. It is a gradient, and the way light moves through it changes what you see from every angle. A crown made from a single flat shade can look acceptable in the mirror at home and obviously wrong in daylight.
Enamel is translucent, so light passes into the tooth, scatters, and returns to your eye carrying warmth from the dentin underneath. Crown materials handle that light differently. Porcelain layered over a substructure can mimic the depth, while a solid monolithic crown tends to reflect light at the surface and read as opaque. This is why translucency matters as much as shade, and why two crowns of the same color number can still look like they came from different mouths.
Front teeth are the hardest to match. They sit in direct light, they are thin, and their edges glow slightly where light passes through. Back teeth are more forgiving because shadow and distance hide small differences.
At your shade-matching appointment, ask to see the proposed shade in natural light, not just under the operatory lamp. Mention any whitening you plan, since a crown cannot be bleached later. Ask how the incisal edge will be finished, because that thin edge is where mismatches show first.
How Crown Placement Reshapes Your Smile Line and Bite
A crown does not simply replace the visible part of a tooth; it rebuilds the shape that the tooth presents to the rest of the mouth. The contour of the restoration — how its edges taper, how the surface curves, and where it meets the neighboring teeth — determines whether the new tooth sits in the row like it has always been there or stands out as something added. A well-shaped crown follows the same emergence profile as the natural teeth, meaning the way it rises from the gum and flows outward should mirror the teeth on either side. When that contour is too bulky or too flat, the eye notices it even before the color does.
This shape is what ties the crown to your smile line. The smile line is the imaginary curve formed by the edges of your upper teeth when you smile, and a single crown that is slightly longer, shorter, or rotated can interrupt that curve. Proportion matters here: a crown that is the correct width but the wrong length shifts the balance of the whole row, while one that is too narrow leaves a visible gap that draws attention.
Bite contact is the part most people overlook, because it is felt rather than seen. A crown has to meet the opposing tooth with the same pressure and direction as the original. When that contact sits too high, you feel it immediately as a dull pressure or a sense that one tooth lands first. That discomfort is a signal, not a cosmetic issue, and it is a different problem from the ones covered later when a crown needs adjustment.
The Role of Gum Health in a Clean Before and After Transition
Every crown has a visible border, and that border is your gumline. The gum tissue frames the restoration the way a mat surrounds a photograph, so its position, color, and tightness decide whether the new tooth blends in or announces itself. When gums are inflamed, they look puffy and red, and the margin where crown meets tissue can appear dark or uneven. Recession pulls the gum back and exposes the edge of the crown or the root beneath it, breaking the clean line you were hoping for.
This is why gum health is not a side issue in the transition. A tooth that sits in calm, pink, well-fitted tissue reads as natural even if the shade is slightly off, while a perfect crown surrounded by irritated gums never quite looks right. Before placement, treating active inflammation gives your dentist a stable, predictable margin to work with. After placement, gentle brushing, flossing around the margin, and regular cleanings keep that border from darkening or shifting over time.
In short, the gumline is the frame that makes the change look clean or careless. Protecting it before and after the crown goes on is what keeps the result looking settled rather than merely new.
Temporary vs. Permanent Crowns: What You See at Each Stage
When your dentist cements a temporary crown, you are looking at a functional placeholder, not a preview of the finished work. Temporaries are usually made from acrylic or composite resin, and they are built to protect the prepared tooth, hold the space, and keep your bite stable for the weeks before the lab delivers the real thing. That is why they often look flatter, slightly opaque, or a shade off from your natural teeth. The edges may feel a little rough, and the surface rarely catches light the way enamel does.
The temporary is not just a stopgap. It lets your dentist test the shape and fit against your gum line and neighboring teeth, and it gives you a chance to speak, bite, and smile with a rough draft in place. If something about the contour feels wrong, that feedback can still shape the final crown.
What surprises many people is how much the appearance changes again once the permanent crown goes on. The material is denser, the color is matched more precisely, and the surface is polished to reflect light like natural tooth structure. This is why photos taken during the temporary stage can be misleading — they capture a working model, not the result. Judging the outcome before the permanent crown is seated is like reviewing a sketch as if it were the painting.
How Long It Takes for Final Results to Fully Settle
Once the permanent crown is cemented, the first changes you notice happen fast. Your gums may feel tender or look slightly puffy around the margin for a few days, and the bite often feels a little high or foreign even when it is technically correct. This early phase is mostly your mouth adapting to a new surface, not the crown itself shifting. Most of this sensitivity fades within the first week.
The slower part is gum contour. Where the crown meets the tissue, the gum needs time to tighten and re-form its natural scalloped edge, which can take several weeks. During that window, the shade can also read differently as minor inflammation settles and the surrounding tissue returns to its normal color. This is why a crown that looks slightly off on day three can look completely natural by week four.
As a practical marker, judge the result once the gum line looks calm and even and your bite no longer feels distracting, usually around four to six weeks. Past that point, the crown should be considered stable.
When Results Fall Short: Signs a Crown Needs Adjustment

Not every result that feels wrong on day one is permanent. Some crowns simply need a small correction, and the difference between a disappointing outcome and a finished one often comes down to knowing which signals matter. The most common complaints fall into two groups: how the crown looks and how it functions.
On the appearance side, a shade that reads too bright, too gray, or too opaque against its neighbors usually points to a color mismatch rather than a flaw in the crown itself. An uneven gumline, where one side sits higher than the other, can also break the visual flow of the smile. These are typically the easiest to address, since shade and gum contour can often be refined without replacing the entire restoration.
Function problems show up differently. If your bite feels high, uneven, or tender when you chew, the crown is likely sitting slightly out of alignment with the opposing teeth. This is a bite adjustment issue, and it is one of the most frequent reasons a patient returns after placement. Persistent sensitivity, a loose feeling, or food catching at the edge can also signal that the fit needs attention.
The reassuring part is that most of these situations are correctable. A quick reshaping, a shade revision, or a gum recontour can bring the result much closer to what you expected. A poor outcome is rarely the final word — it is usually just a step in getting the crown right.
FAQs
How can dental crowns before and after photos help me set realistic expectations for my own smile?
Dental crowns before and after photos give you a concrete visual reference for what a finished crown actually looks like on real teeth, not just the polished examples in a brochure. You can compare shade matching, shape, and how the crown blends with neighboring teeth, which helps you understand the range of natural-looking results rather than expecting a perfect, uniform smile. Seeing these real cases also prepares you for the fact that the final outcome depends on your starting tooth condition, gum health, and the material you choose.
What factors make some dental crowns before and after results look more natural than others?
The most natural-looking dental crowns before and after results usually come down to shade matching, translucency, and how well the crown's shape mirrors your natural teeth. A skilled dentist picks a shade that blends with your surrounding teeth under different lighting and chooses a material like layered zirconia or lithium disilicate that mimics the way real enamel reflects light. The final contour and texture matter too, since a crown that follows your natural gum line and biting edges looks far more convincing than a uniform, opaque one.
How long should I expect my dental crowns to last after seeing typical before and after transformations?
Most dental crowns last between 10 and 15 years, and with good oral hygiene and regular dental visits, many people get 20 years or more out of them. The before and after transformations you see in photos usually reflect that first decade, when the crown still looks natural and fits well. After that, wear, gum changes, or a cracked margin can shorten the lifespan, so your dentist will check the crown at each cleaning to catch problems early.