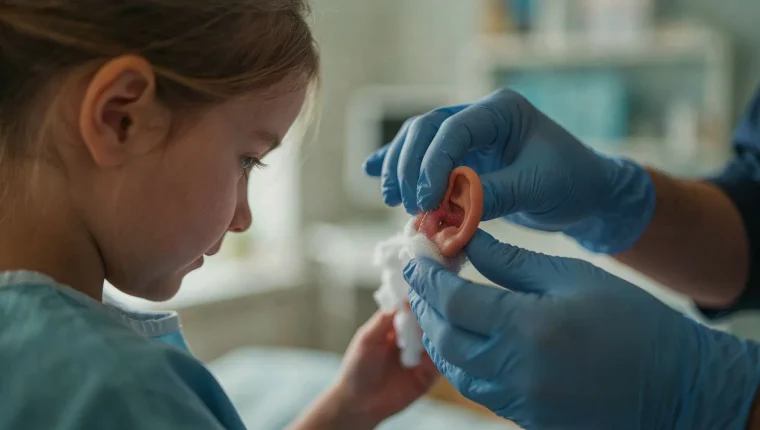
Deciding to correct protruding or asymmetrical ears with otoplasty is a big step, and your preparation in the weeks before surgery directly affects how smooth your recovery will be. Most patients who plan ahead have fewer complications, less stress on surgery day, and an easier healing period. Good otoplasty preparation isn’t complicated, but it requires attention to detail: adjusting certain medications, arranging a driver and childcare if needed, and knowing exactly what to expect from your surgeon’s instructions. Whether you’re scheduling surgery for yourself or for a child, a clear checklist removes the guesswork and helps you arrive ready rather than rushed. Here’s what to do before your operation, step by step.
Understanding Otoplasty and Who It's For
Otoplasty is a surgical procedure that reshapes, repositions, or reduces the ears, most commonly to address ears that stick out noticeably or look uneven. Unlike many cosmetic operations, it is frequently performed on children as young as five or six, because the ear cartilage is fully developed by that age yet still soft enough to sculpt easily. Adults make up a large share of candidates as well, and results tend to be equally stable at any age.
The typical candidate is someone whose ear appearance causes genuine bother — whether that means avoiding short haircuts, feeling self-conscious in photos, or a child being teased at school. Good candidates also share a few practical traits: they are in overall good health, they do not smoke (or are willing to stop well before surgery), and they hold realistic expectations about the outcome. Ear pinning surgery can correct prominence, reduce overly large ears, and address asymmetry, but it cannot make ears perfectly identical — no two natural ears ever are.
It is worth knowing that otoplasty is usually an outpatient procedure done under local anesthesia with sedation for adults, or general anesthesia for younger children. The incisions are typically hidden behind the ear, which is why scarring is rarely a concern. Recovery is comparatively quick: most adults return to desk work within a week, though contact sports and anything that could bend the ears need to wait several weeks.
Age matters for another reason, too. For children, many surgeons recommend operating before the school years begin in earnest, minimizing the emotional impact of teasing. For adults, timing is flexible — the procedure is elective, so choosing a calm period in your schedule makes the healing phase far easier to manage.
Booking Your Initial Consultation: What to Ask
The consultation is where your otoplasty preparation truly shifts from research to action. This first meeting is your chance to evaluate the surgeon just as much as they evaluate you, and the questions you ask now will shape every decision that follows. A surgeon who welcomes detailed questions and answers them clearly is telling you something important about how they’ll communicate throughout the entire process.
Come to your appointment prepared with a written list, and make sure you cover these essentials:
- Board certification and specific experience: Ask whether the surgeon is certified by a recognized board and how many otoplasty procedures they perform each year, as regular volume is closely linked to consistent results.
- Before-and-after photos: Request to see examples of patients whose ear shape or asymmetry resembles yours, so you can gauge the surgeon’s aesthetic range realistically.
- The chosen technique: Ask which surgical method they recommend for your ear anatomy and why, since cartilage reshaping approaches vary and affect both scarring and recovery.
- Anesthesia type: Confirm whether the procedure will use local or general anesthesia and who will administer it, especially for younger patients.
- Total cost breakdown: Ask what the quoted price includes, from anesthesia and facility fees to follow-up visits, so there are no surprises later.
Pay attention to how the conversation feels, not just what is said. A good surgeon will examine your ears carefully, explain the expected outcome honestly, and discuss limitations rather than promising perfection. If revision surgery would ever be needed, ask whether it is included in the original fee. Taking notes during this appointment gives you a written record to compare when you consult with more than one surgeon, which is a smart step before committing.
Medical Evaluations and Tests Before Surgery
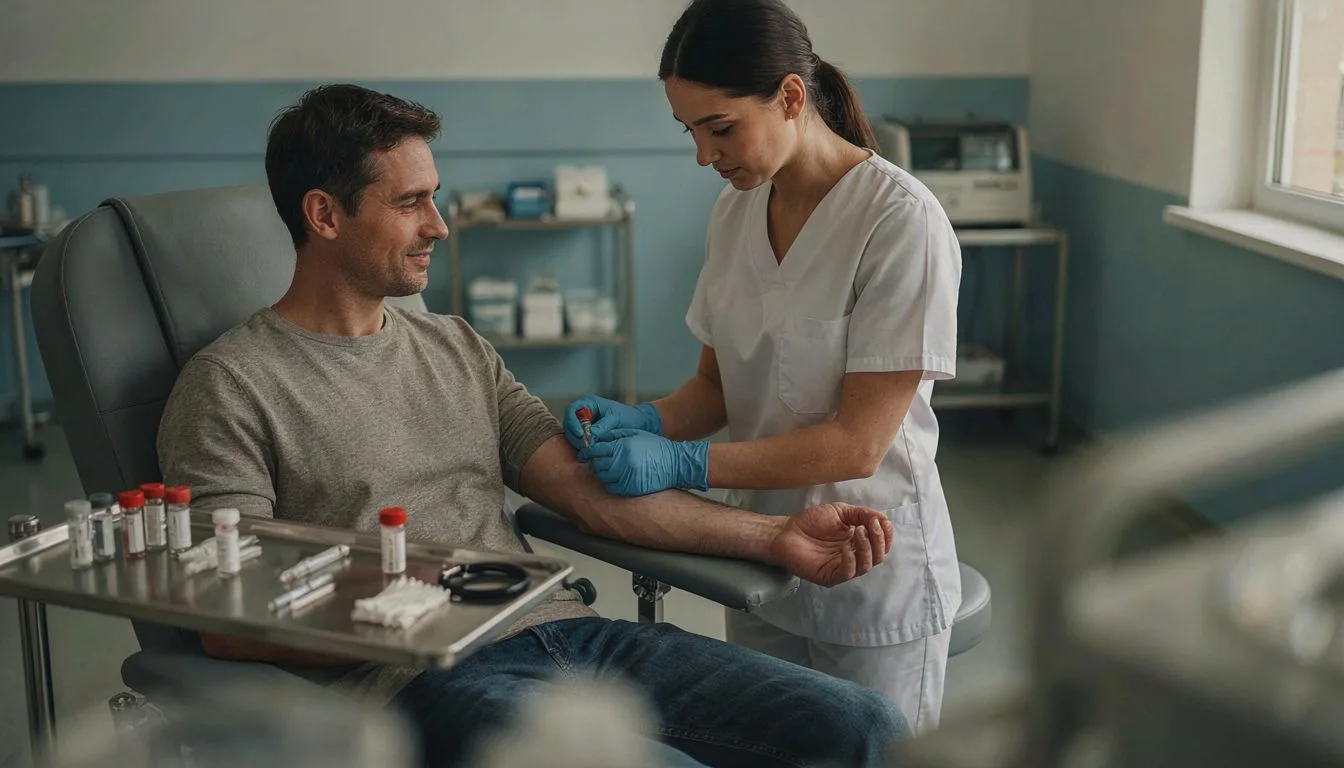
Once your consultation is complete and surgery is scheduled, your surgeon will order a series of pre-operative medical evaluations to confirm you’re healthy enough for the procedure. These checks aren’t bureaucracy — they’re how your surgical team identifies risks before you’re ever on the table. Most patients find this stage surprisingly quick, but skipping or delaying it can push back your surgery date, so start as soon as your clinic sends the request.
Typically, you’ll be asked to complete a blood panel that evaluates clotting, blood counts, and basic metabolic function. Since otoplasty is usually performed under local anesthesia with sedation — or sometimes general anesthesia for children — your anesthesia clearance matters here. An anesthesiologist may review your history separately, especially if you have asthma, sleep apnea, or any heart-related condition.
Adults over a certain age, or anyone with chronic conditions like diabetes or hypertension, may also need an ECG and, occasionally, a chest X-ray. If you take blood thinners or have a bleeding disorder, tell your surgeon now rather than at the pre-op appointment — this information can change both your test requirements and your medication plan, which the next section covers in detail.
One practical tip: ask your clinic whether they accept recent results from your own GP or require tests done at their affiliated lab. Many do accept results from the past 30 days, which can save you a second blood draw and an extra fee. Keep digital or printed copies of everything — you’ll hand them over at your final pre-op check, usually a few days before surgery, when your surgeon signs off that you’re cleared to proceed.
Medications and Supplements to Stop Before Otoplasty
Certain medications and supplements can increase bleeding during surgery, which is why your surgeon will ask for a complete list of everything you take — prescriptions, over-the-counter drugs, vitamins, and herbal products. The most important category to address is blood thinners, as they interfere with clotting and raise the risk of post-operative bruising and hematoma formation.
Aspirin and non-steroidal anti-inflammatory drugs (NSAIDs) like ibuprofen and naproxen are typically stopped 7 to 14 days before surgery. If you take prescription anticoagulants such as warfarin, clopidogrel, or a direct oral anticoagulant, never stop them on your own — your surgeon and prescribing physician will coordinate a safe timeline based on your overall health.
Supplements deserve the same attention as medications, even though many people assume “natural” means harmless. Vitamin E, fish oil, ginkgo biloba, garlic supplements, ginger, and ginseng all have mild blood-thinning effects and are usually discontinued at least one week before your procedure. St. John’s Wort can interact with anesthesia and is generally stopped well in advance as well.
On the other hand, some medications need to continue or may be temporarily added. Blood pressure medication is usually taken with a small sip of water on the morning of surgery, and some surgeons prescribe a short course of arnica or bromelain afterward to reduce swelling.
Bring your full medication list to your pre-operative appointment and confirm the exact stop-and-start dates in writing. Following these instructions precisely is one of the simplest ways to reduce surgical complications and keep your recovery on schedule.
Prepping Your Home for Recovery Day

The days right after otoplasty are mostly about resting with a bulky head dressing on, so the goal of home prep is simple: make sure you can eat, sleep, and move around without reaching, bending, or bumping your ears. Setting things up before you leave for the clinic means you can head straight to bed when you get home instead of scrambling for supplies with a sore head.
Think of it as building a small recovery station on the ground floor or in the room where you will spend most of your time. Since you should sleep with your head elevated for the first week, your sleeping setup is the most important part of this plan.
A few adjustments make a real difference:
- Extra pillows or a wedge cushion to prop your head up while you sleep. Keeping your head above heart level reduces swelling and helps you avoid rolling onto your ears overnight.
- Button-up shirts or zip hoodies rather than anything pulled over the head. You will not be able to slide a sweater past your ears and dressing for at least several days.
- Easy meals and snacks within arm’s reach, plus a filled water bottle. You may feel groggy from anesthesia on day one, so having food you only need to reheat removes any need to cook or bend down.
- A charging station, books, and remote controls placed at bedside level. Entertainment matters more than you would expect when you are stuck resting quietly for a week.
- Loose rugs, cords, and low furniture cleared away from your usual walking path. Tripping hazards are worth removing while your balance and attention may be slightly off.
Beyond the physical setup, think about who will be around. Arrange for an adult to drive you home after surgery and stay with you for at least the first 24 hours, since the anesthesia can leave you unsteady. If you have small children or pets, having someone else handle lifting and playful bumping for a few days protects your healing ears more than anything you can buy.
Finally, stock up on any prescriptions ahead of time so pain medication is already in the house when you need it most. A little planning now turns recovery day into exactly what it should be: quiet, comfortable rest.
Otoplasty Preparation: What to Pack for the Clinic
While much of your planning happens at home, the bag you bring to the clinic deserves its own attention. Most otoplasty procedures are outpatient, meaning you’ll arrive, have surgery, and leave the same day — so what you carry with you matters more than you might think. Your clinic will usually send a list, but a well-thought-out day-of-surgery bag saves you from last-minute stress and discomfort.
Start with your documents. Bring a photo ID, your insurance information if applicable, and any paperwork your surgeon asked you to complete. If you had pre-operative tests done elsewhere, having copies of those results on hand can smooth the check-in process. Keep these in a folder or envelope rather than loose in a pocket.
Dress with your recovery in mind. Choose a button-up shirt or a loose zip hoodie so nothing has to be pulled over your ears or head after the procedure. Your ears will be bandaged and tender, and avoiding anything that touches them is essential. Skip jewelry, makeup, and hair products entirely — you’ll likely be asked to remove them before surgery anyway.
Have someone drive you home. This isn’t just a recommendation; most clinics won’t release you after anesthesia unless a responsible adult is present to accompany you. Arrange this well in advance and make sure that person knows your pickup time.
A few smaller items make a real difference. Pack any prescription medications your surgeon approved for after the procedure, along with a water bottle and a light snack for the ride home if anesthesia allows it. Glasses are fine, but leave contact lenses at home. If you wear a hearing aid, ask your surgical team in advance how they’d like you to handle it.
Finally, leave valuables at home. You won’t need your laptop, and a bulky wallet or expensive watch only creates something extra to keep track of. A small, simple bag with the essentials is all you need for a smooth arrival and an even smoother ride home.
The Night Before and Morning of Your Procedure
The final hours before surgery often feel like the longest part of the entire journey, but they don’t need to be stressful. By this point, most of your groundwork is done: your home is ready, your bag is packed, and your surgeon’s instructions are clear. What remains is simply following the plan—and one instruction stands above all the rest: the fasting requirement. Almost all otoplasty procedures involve some form of anesthesia, and you will typically be asked to stop eating solid foods around midnight and avoid liquids for a set window before arrival, often six hours for clear fluids. Your surgical team will give you exact times, so follow them precisely; if you eat or drink when you shouldn’t, your procedure may be delayed or canceled for safety reasons.
The evening before is best spent calmly rather than frantically. Take a shower with the antibacterial soap if your surgeon provided it, since clean skin reduces infection risk. Avoid alcohol entirely, skip smoking, and resist the urge to try one last skincare experiment near your ears—fragrance-free simplicity wins here. Lay out loose, front-opening clothing so the morning requires zero decision-making, and set out your headband or any post-operative accessories your surgeon supplied. Wash your hair, because you may not be able to shower normally for several days after surgery.
Confirm your ride before bed. Someone must drive you home and ideally stay with you for the first 24 hours, so a quick confirmation call or text the evening before prevents an awkward morning scramble. Set two alarms, place your ID, insurance documents, and payment details with your day-of-surgery bag, and silence your phone early enough to actually sleep.
On the morning itself, take only the medications your surgeon specifically approved, with a small sip of water if permitted. Skip makeup, lotions, hair products, and jewelry, and wear what you laid out the night before. Arrive a few minutes early with your escort, expecting a brief check-in, final markings, and a conversation with your anesthesiologist. From there, your preparation is complete—and the only thing left to do is rest while your surgical team takes over.
FAQs
How far in advance should I start my otoplasty preparation?
You should ideally start your otoplasty preparation two to four weeks before your surgery date. This gives you enough time to stop blood-thinning medications and supplements as advised by your surgeon, arrange time off work or school, and set up a comfortable recovery space at home. If you smoke, quitting at least two to four weeks ahead of the procedure significantly supports healing. In the final week, you'll handle smaller details like filling prescriptions and planning a ride home after the procedure.
Which medications and supplements should I stop taking before surgery?
Before otoplasty, you'll typically need to stop blood-thinning medications and supplements at least one to two weeks before surgery, including aspirin, ibuprofen, warfarin, vitamin E, fish oil, ginkgo biloba, and St. John's wort, as these can increase bleeding and bruising. You should also avoid smoking and nicotine products, since they restrict blood flow to the healing ear tissue. Always give your surgeon a complete list of everything you take, including herbal supplements and over-the-counter products, and only stop prescription medications when your surgeon or prescribing doctor specifically instructs you to.
What should I have ready at home for my recovery after otoplasty?
Before your otoplasty, prepare a recovery station with extra pillows to keep your head elevated while sleeping, button-up shirts or tops with wide necklines so you avoid pulling anything over your ears, and soft foods plus plenty of hydrating fluids for the first day or two. Stock up on any prescribed medications, over-the-counter pain relievers your surgeon approves, and gauze or clean towels in case of minor drainage. Keep ice packs handy (wrapped in a cloth, never applied directly) if your surgeon recommends them, and place frequently used items like water, chargers, and snacks within easy reach so you can rest without bending or straining.